Customising the Achievement Widget
If you wish to customise the widget style to better match the style of your game this can be done relatively easily.
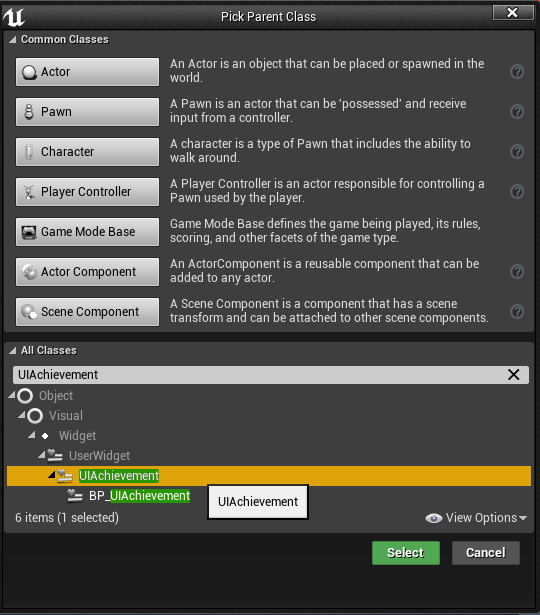
First create a blueprint subclass of ** ‘UIAchievement‘ **. Here you will define the visual elements of an achievement. Set the ** ‘UI Achievement Override’ ** variable in the settings to your new blueprint. The system will now use it instead of the default layout.
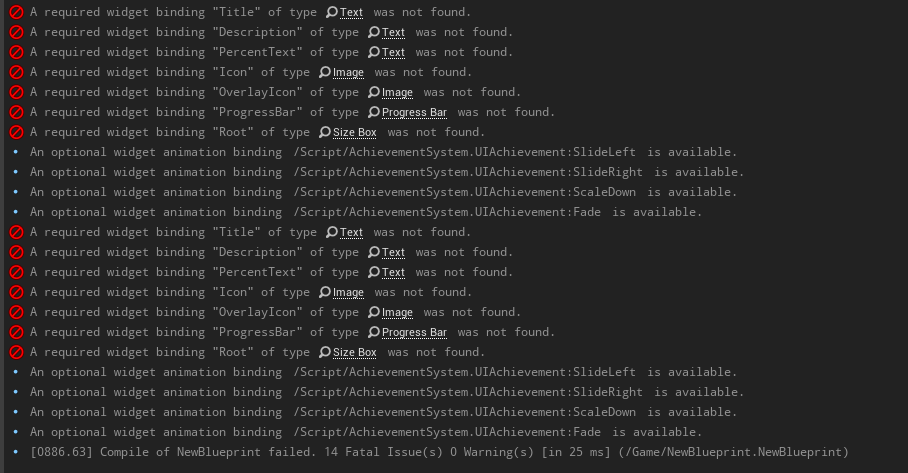
There are a number of components which must be included to ensure that the achievement display functions correctly. Failing to include these in your class will result in a blueprint compile error. The required bindings can be seen in the blueprint compile results window.


Widget Scale
For the stacking of achievements to work correctly the root element must be a size box (called ‘Root’) with the ‘Width’ and ‘Height’ overrides selected and set to the desired values. You can set the view mode to ‘desired’ or ‘desired on screen’ to see the true size of the widget while designing your custom layout.
Major changes
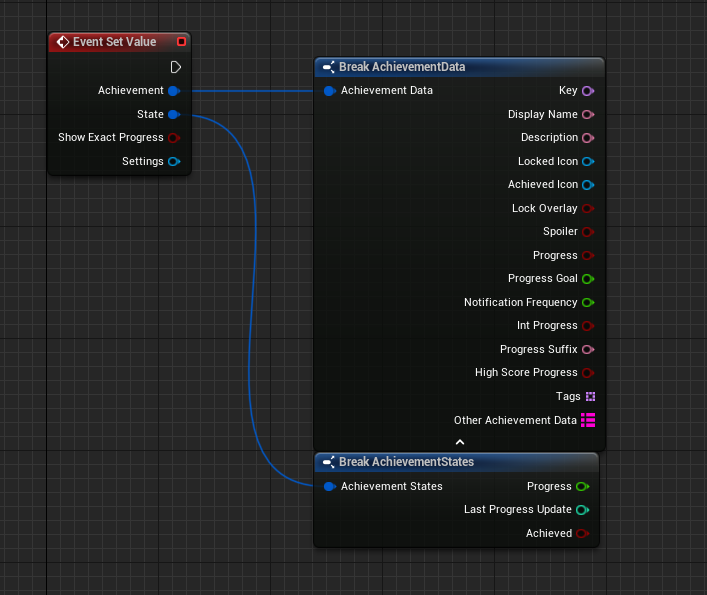
If you wish to make more major changes related to how the achievement is rendered you may override the SetValue function in C++ or blueprint.
- Blueprint
- C++

void SetValue(FAchievementData Achievement, FAchievementStates State, bool ShowExactProgress, UAchievementSystemSettings *Settings);
Customising Animations
Due to the way that user widgets are created, you will be required to recreate the animations in a way that matches your new layout and sizing.
Customising Animations
If you only need to make minor adjustments to the layout and colours it would be best to create a copy of the default achievement, move it into your project and update as needed. The default class can be found under ‘AchievementSystem Content/BP_UIAchievement’. You may need to select ‘Show Engine Content; and ‘Show Plugin Content’ to see this folder.